First, install the IDE!
Please refer to the mruby/cIDE installation page for instructions.Writing the Program
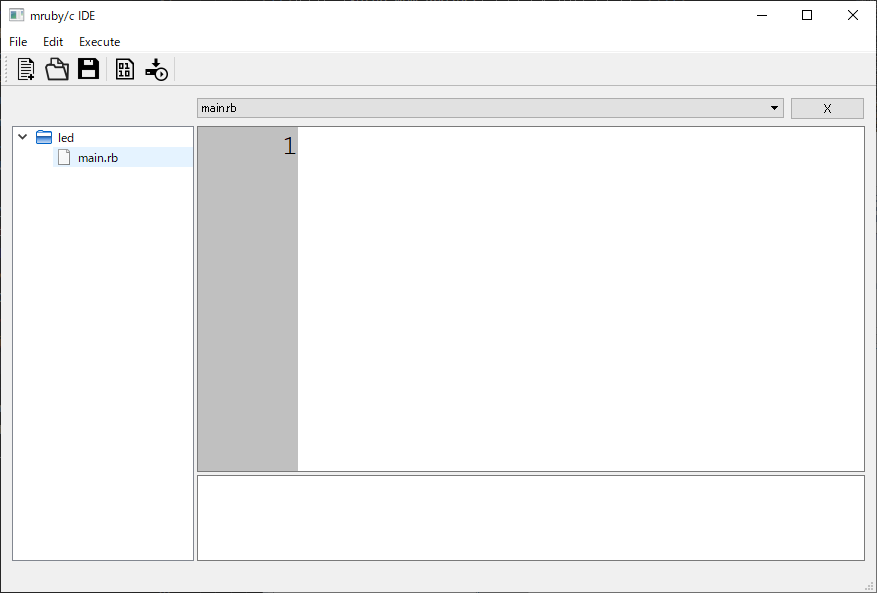
- First, launch the mruby/cIDE (mrubyc_ide.exe)
- Select "File -> New… -> Project"
- Then the "Setup New Project" tab will appear.
- You must enter a Project Name (name it "led")
- Click the OK button to close
- Select "File -> New… -> File"
- Then the "Setup Add New File" tab will appear.
- You need to enter the file name, so enter it. The file extension must be [.rb] (name it main.rb)
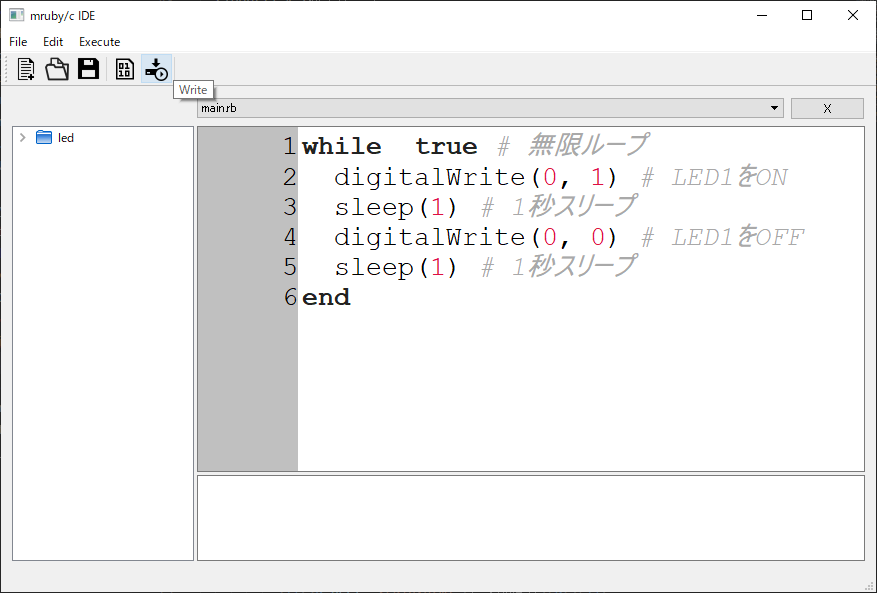
- Write the program. Repeat LED ON/OFF every 1 second.
while  true # Infinite loop
  digitalWrite(0, 1) # LED1 ON
  sleep(1) # 1 second sleep
  digitalWrite(0, 0) # LED1 OFF
  sleep(1) # 1 second sleep
end
The output value for the second argument is 1 for ON (3.3V) and 0 for OFF (0V) for the pin number specified by the first argument.
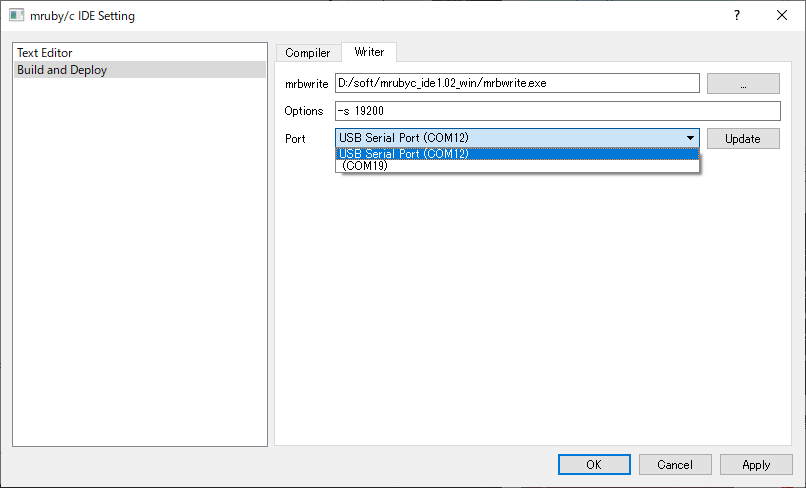
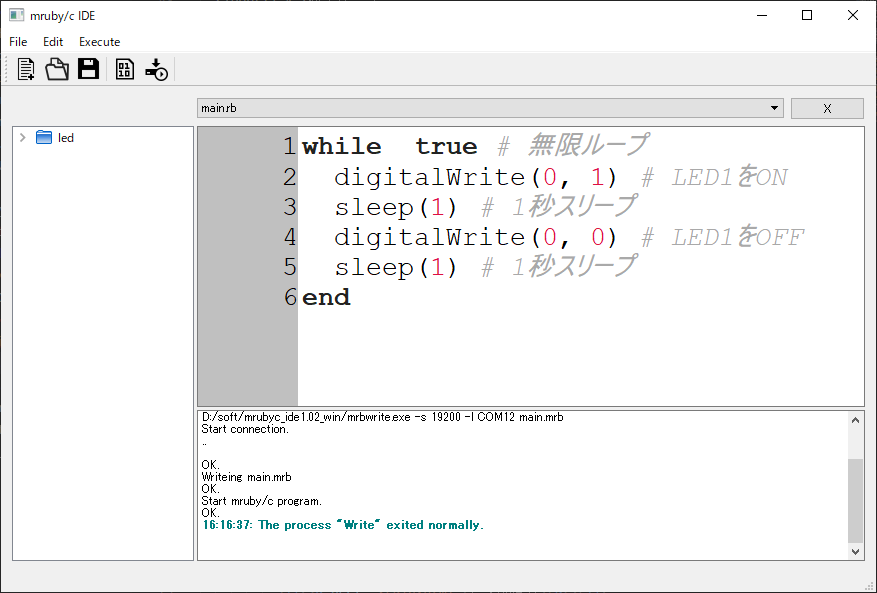
Writing the Program to RBoard
Log in case of failure
If the writing process fails, try unplugging and replugging the USB cable.
Start connection.
..........

Can't connect target device.
Start connection.
Can't open serial port line.
Task:
- Try changing the blinking speed of the LED.
- Try blinking two LEDs alternately.
- Try blinking four LEDs in sequence.
while  true # Infinite loop
  digitalWrite(0, 1) # LED1 ON
  sleep(0.1) # 0.1 second sleep
  digitalWrite(0, 0) # LED1 OFF
  sleep(0.1) # 0.1 second sleep
end
while  true # Infinite loop
  digitalWrite(0, 1) # LED1 ON
  sleep(1) # 1 second sleep
  digitalWrite(1, 1) # LED2 ON
  digitalWrite(0, 0) # LED1 OFF
  sleep(1) # 1 second sleep
  digitalWrite(1, 0) # LED2 OFF
end
leds = [0, 1, 5, 6]
while  true
  leds.each do |i|
    digitalWrite(i,1)
    sleep(1)
    digitalWrite(i,0)
  end
end